

Complete Floor System – Primer + Sand Coating


DIY Hybrid Epoxy Garage Floor Kit
Complete Floor System – Primer + Sand Coating
Two coats. No flakes. No topcoat. Transform your own garage in a weekend.
First floor? You've got this. The buckets come pre-measured, it's just two coats, and our step-by-step guide walks you through it. For a first floor we recommend the First-timer kit: the third bucket takes the pressure off. — Ambert, founder
Change of mind? You can return unopened products within 30 days of delivery (refund policy). Not sure what to order? Email your floor size to hello@conycoatings.com.au and we'll tell you exactly what you need. We reply within 24 hours.
- The whole two-coat system in one order
- 10% off compared with buying separately
- Pre-measured Part A + Part B — just mix
- Two coats, trowelled on, no topcoat required
- Free shipping on the Single garage and Small area kits (excl. SA, WA, NT and TAS)
- Free small spiked roller and small trowel with every kit
In your kit: Floor Primer, pre-measured buckets (Part A + Part B) and a free small spiked roller and small trowel.
From the hardware store: an electric drill with a mixing paddle, spiked shoes, a brush and roller for the primer, masking tape, gloves and eye protection. See the full list
You can do this
Your weekend, step by step
Two coats, no flakes, no topcoat. Pick a day to see what happens.
Prep the floor
Clean it properly so there's no grease or oil, fill small cracks with an epoxy crack filler and vacuum up all the dust. If your concrete is smooth, level and sound, you don't need to grind.
Prime it
Brush Floor Primer along the edges first, then roll one coat over the rest of the floor. That's coat 1 done.
Mix, pour and trowel
Stir Part A, mix in all of Part B with a drill on low speed, then pour and trowel it out at least 1.5 mm thick. Spike-roll it in spiked shoes. Always wear gloves. First time? Practise on a spare surface first.
Walk on it
Foot traffic is fine after 12 hours. Keep heavy loads and impacts off it for the first 5 days.
Park on it
Cars can go back in after 5–7 days. No topcoat needed: your floor is finished, and you did it yourself.
Times at 25 °C with good ventilation. Cooler, humid or poorly ventilated conditions take longer.
The complete two-coat system in one kit, for 10% less than buying the parts separately. Each Complete Floor System kit pairs Cony Floor Primer (coat 1) with Hybrid Epoxy Sand Coating (coat 2) in your choice of colour, sized for your floor, and comes with a free small spiked roller and small trowel. A modern alternative to flake epoxy: no flakes, no topcoat, and a finer, more uniform decorative finish.
Measure your floor first (length × width). Rough or porous concrete uses more, so allow some extra, and order everything for one floor together so the colour matches.
Shipping
Every garage kit ships free to NSW, ACT, VIC and QLD, except the Double garage kit, which is a flat $59. Orders to SA, WA, NT and TAS pay courier costs at checkout. In Sydney, pickup from our warehouse is free, and local delivery is available at checkout.
Which kit do I need?
- Single garage kit: 2 buckets + 1 primer. Covers up to 20 m², enough for a 3 × 6 m single garage.
- First-timer single garage kit: 3 buckets + 1 primer. For first-timers, or if this is your first project, we recommend 3 buckets for a single garage.
- Double garage kit: 4 buckets + 2 primers. Covers up to 40 m², enough for a 6 × 6 m double garage.
- Small area kit: 1 bucket + 1 primer. Covers up to 11 m².
Every kit comes with a free small spiked roller and small trowel. One 15 kg bucket covers up to 11 m² at the 1.5 mm minimum thickness; one 3 kg tub of primer covers up to 20 m². Each bucket holds Part A (13.34 kg) and Part B (1.66 kg), pre-measured at 8:1.
How to apply
- Prepare: grinding is optional. Our coating is made to adhere to the primer and harden, so as long as the concrete is smooth, level and clear of dust and debris, you don't need to grind. Vacuum up all the dust. Slabs move over time, so check yours is stable and sound. Clean it properly (no grease, oil or anything that could stop the coating bonding) and fill small cracks with an epoxy crack filler.
- Coat 1, prime: brush Floor Primer along the edges first, then roll one coat over the rest of the floor. Touch dry in about 2 hours at 25 °C.
- Test first: if it's your first time, start in an inconspicuous spot, or practise on a spare surface you can throw away.
- Mix thoroughly: 12–72 hours after the primer is touch dry, stir Part A, then mix in all of Part B with an electric drill mixer on low speed. Under-mixed coating turns out lumpy. Always wear gloves.
- Coat 2, pour and trowel: spread it with a notched trowel (a squeegee won't leave this thick coating level), at least 1.5 mm thick, up to 11 m² per bucket. Trowelling is a must: it's what gets your floor level.
- Spike-roll the fresh coating, wearing spiked shoes, to release trapped air.
No topcoat needed. The better the preparation, the better the adhesion. Read the full application guide
Coverage and curing
- Floor Primer: up to 20 m² per 3 kg tub
- Sand Coating: up to 11 m² per 15 kg bucket at the 1.5 mm minimum (thinner coats risk cracking)
- First-timers, or your first project: we recommend 3 buckets for a single garage
- Foot traffic after 12 hours; vehicles after 5–7 days at 25 °C
Safety: gloves, eye protection, ventilation
Always wear gloves, plus eye protection and protective clothing, and ventilate the area. Keep out of reach of children. Part A and Floor Primer are classified WARNING; Part B is classified DANGER (causes severe skin burns and eye damage). Read the label and SDS before use.
Step by step
How it works
Two coats, no topcoat. Note: the amount of preparation you do determines how well the coating adheres. The coating can only be as strong as the floor underneath it.
-
Step 1: Prep & vacuum
Grinding is optional: our coating is made to adhere to the primer and harden, so as long as your concrete is smooth and level, you don't need to grind. Vacuum up all the dust and debris. Slabs move over time, so check yours is stable and sound.
-
Step 2: Check & repair
Clean it properly: no grease, oil or anything else that could stop the coating bonding. Fill small cracks with an epoxy crack filler. Dry, with no rising moisture.
-
Step 3: Coat 1: prime
Brush Cony Floor Primer along the edges first, then roll one coat over the rest of the concrete. Touch dry in about 2 hours at 25 °C.
-
Step 4: Mix thoroughly
12–72 h after the primer is touch dry, stir Part A, then add all of Part B. Mix thoroughly with an electric drill mixer on low speed: under-mixed coating turns out lumpy. Always wear gloves.
-
Step 5: Coat 2: pour & trowel
Pour, then trowel it out evenly: at least 1.5 mm thick, up to 11 m² per bucket. Spike-roll it wearing spiked shoes. Trowelling is a must: it's what gets your floor level. First time? Start in an inconspicuous spot.
-
Step 6: Cure
Foot traffic after 12 h; vehicles after 5–7 days at 25 °C. No topcoat needed to finish.
FAQ
Good to know
Everything customers ask before they order, in plain English.
Tell us your floor size and what the surface is, and we'll tell you exactly what to order.
Ask us a question hello@conycoatings.com.auHow is it different from a flake epoxy floor?
A traditional flake floor is built up in layers: a coloured base coat, decorative flakes broadcast into it, the loose flakes scraped back once it cures, then a clear topcoat to seal them in. Cony Hybrid Sand Coatings is a simple two-coat system: one coat of Floor Primer, then one trowelled coat of Hybrid Epoxy Sand Coating with the colour and texture built in. No flakes, nothing to scrape back and no topcoat, and you get a finer, more uniform decorative finish.
Do I need a topcoat?
Not to finish your floor, and that's one of the big differences from a flake floor. Once fully cured, Hybrid Epoxy Sand Coating forms a tough, durable film on its own, so the job is done in two coats. As part of maintenance, we recommend an optional compatible polyurethane topcoat, re-applied every 12 months, to keep your floor in its best condition.
Do I need to grind my concrete?
No, grinding is optional. Our coating formula is made to adhere to the primer and harden, so as long as your concrete is smooth and level, and clear of any dust and debris, you don't need to grind it. Concrete slabs move over time, so make sure yours is stable and sound, then vacuum up all the dust. Clean the floor properly: it must be dry and free of grease, oil and anything else that could stop the coating bonding. Fill small cracks with an epoxy crack filler made for concrete, within the filler's maximum crack width. Wide cracks, or cracks that are still moving? Email us a photo before you coat. Old paint, sealers and existing coatings must come off first. The amount of preparation you do determines how well the coating adheres: the coating can only be as strong as the floor underneath it.
Do I need to prime first?
On concrete and cement floors, yes: one coat of Cony Floor Primer, then apply the coating 12–72 hours after the primer is touch dry. Sound glazed tiles can be coated directly.
How much do I need?
One 15 kg bucket covers up to 11 m² at the minimum thickness of 1.5 mm. Don't go thinner: coats under 1.5 mm risk cracking. Work out your buckets as floor area ÷ 11, rounded up: 2 buckets and 1 primer for an 18 m² single garage, 4 buckets and 2 primers for a 36 m² double. For first-timers, or if this is your first project, we recommend 3 buckets for a single garage. One 3 kg tub of Floor Primer covers up to 20 m². Porous, rough or uneven floors use more, so buy all buckets for one floor together.
How soon can I walk or park on it?
At 25 °C with good ventilation: foot traffic after 12 hours, vehicles after 5–7 days. Avoid heavy loads and impact for the first 5 days. Cooler, humid or poorly ventilated conditions extend curing.
In detail
This colour, up close Buffalo Grey
The bucket you will receive in the colour you selected, and how that colour can look on a floor. Change the colour above to see the others.
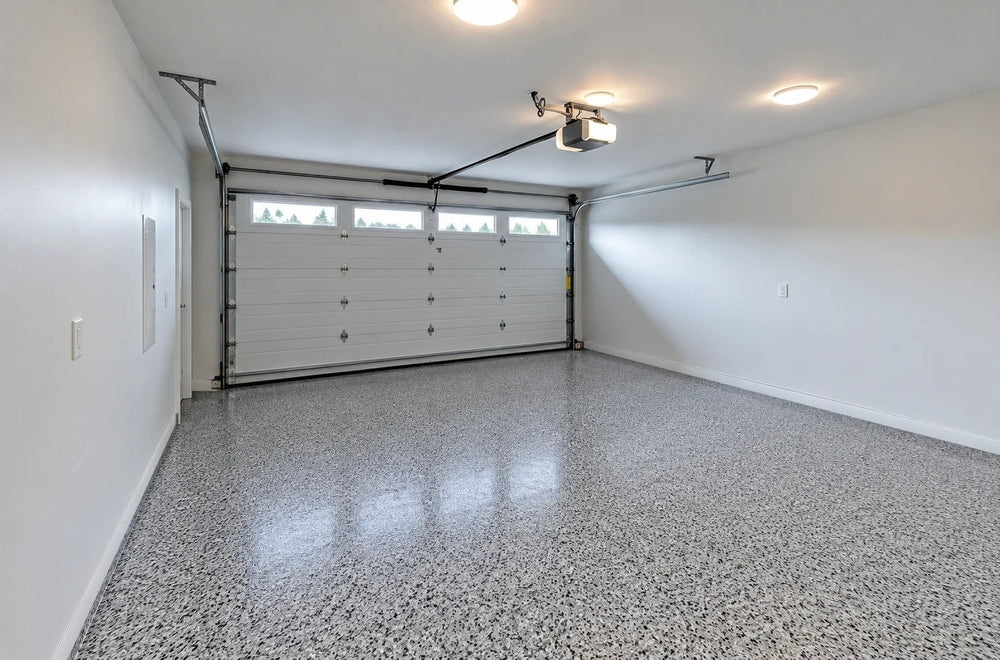
Buffalo Grey
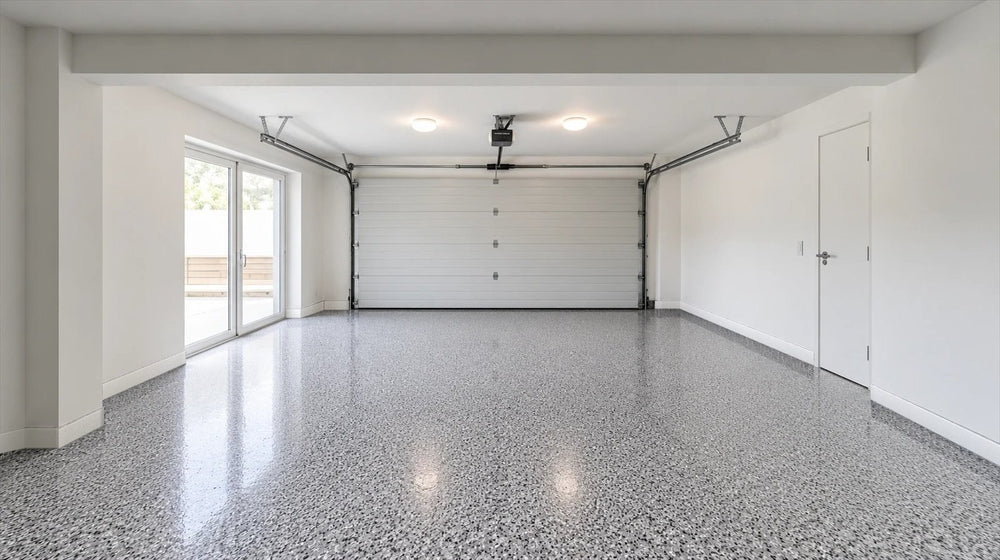
Buffalo Grey
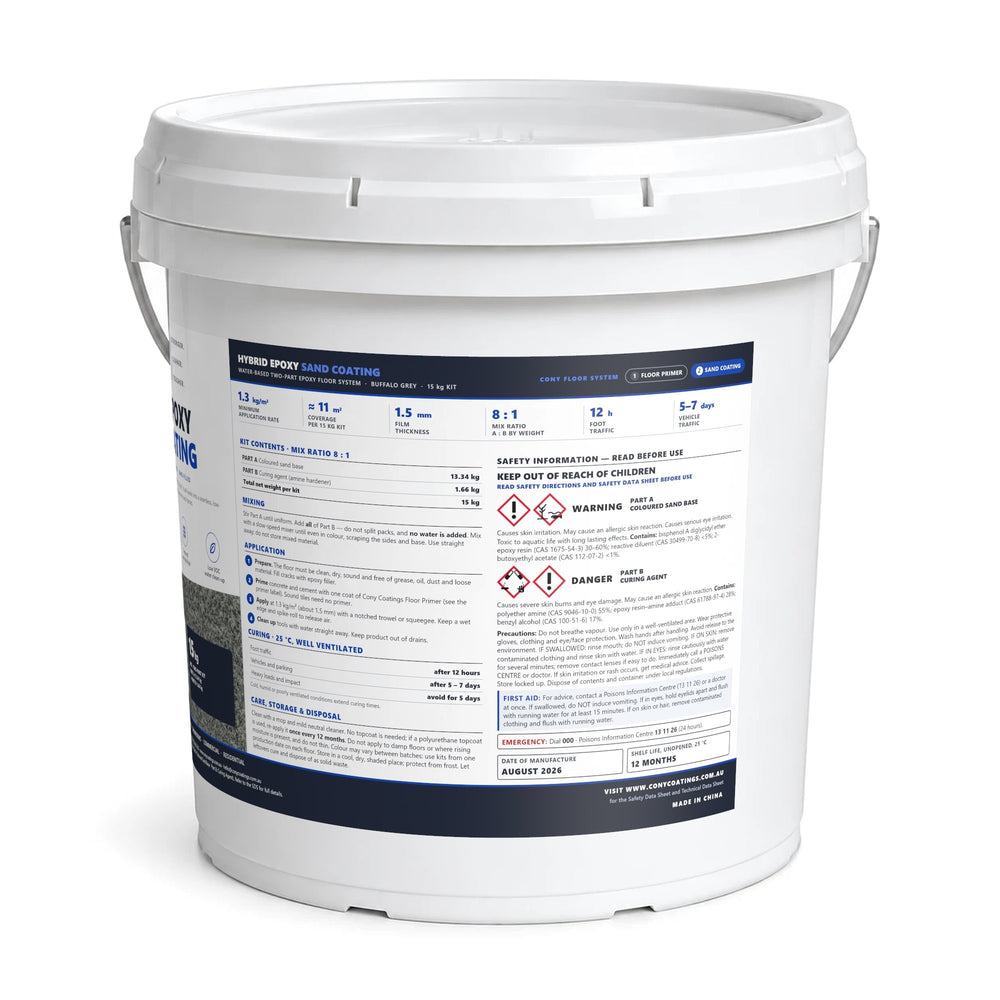
Back of the bucket: application guide and safety
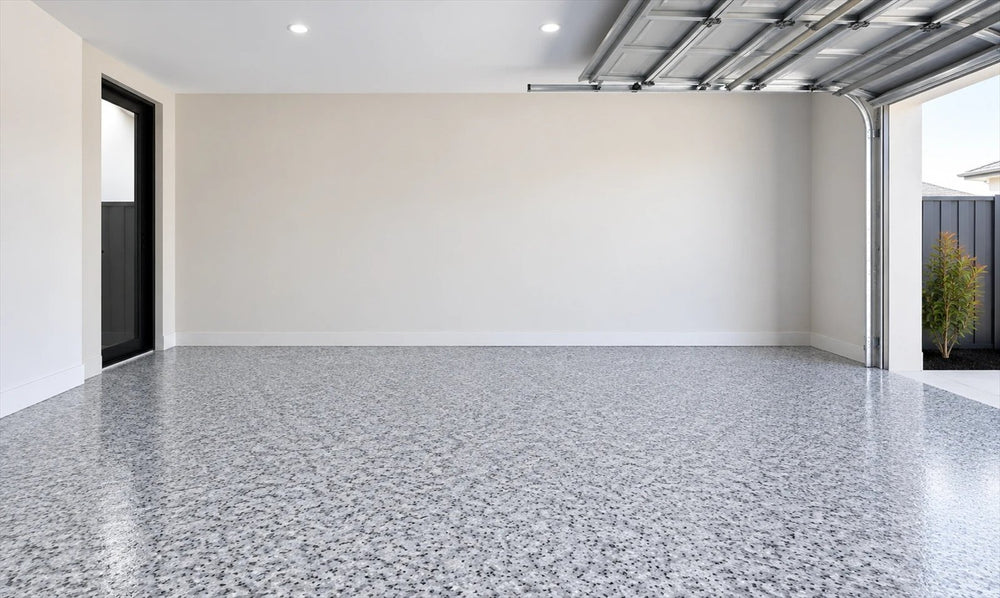
Ivory White
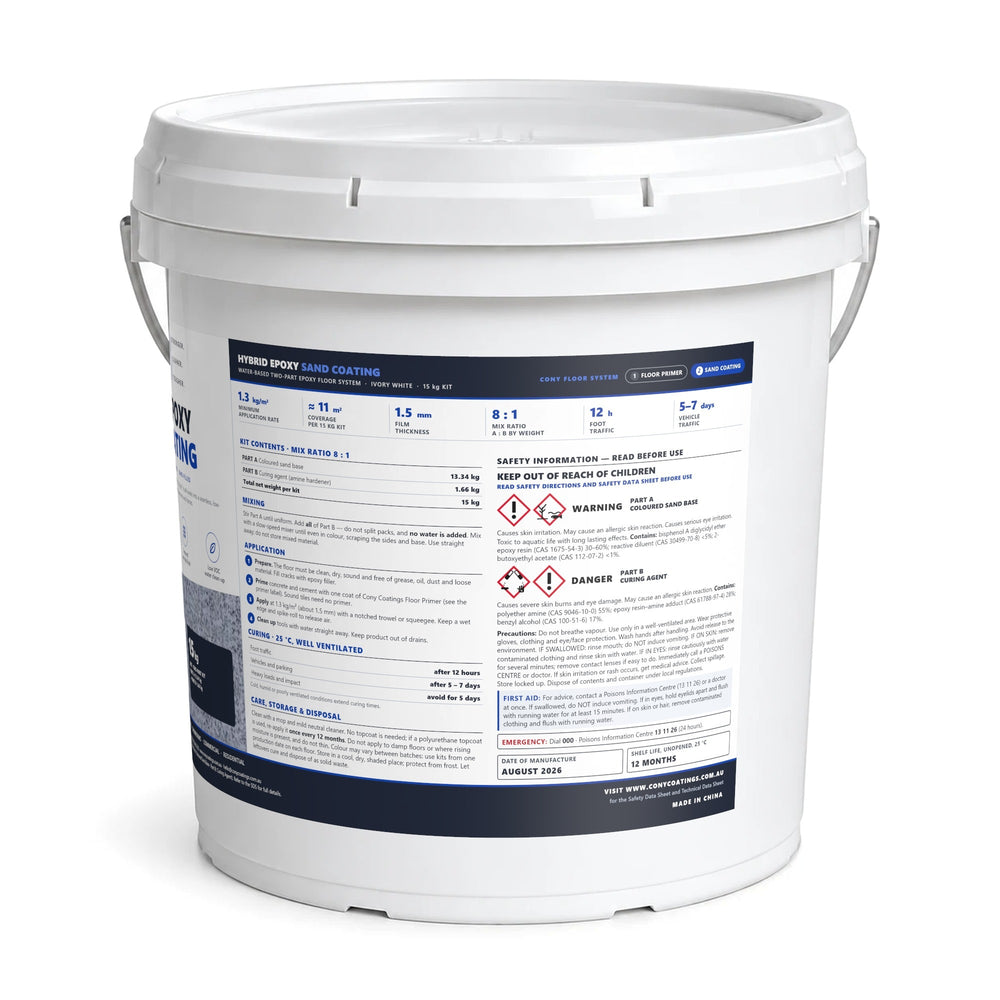
Back of the bucket: application guide and safety
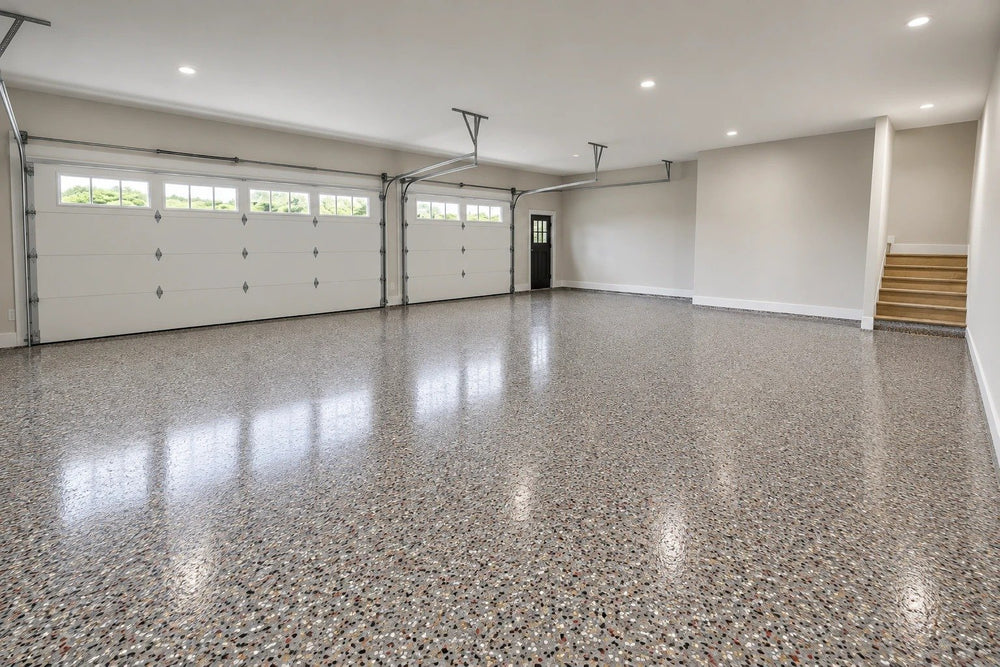
Multiblend
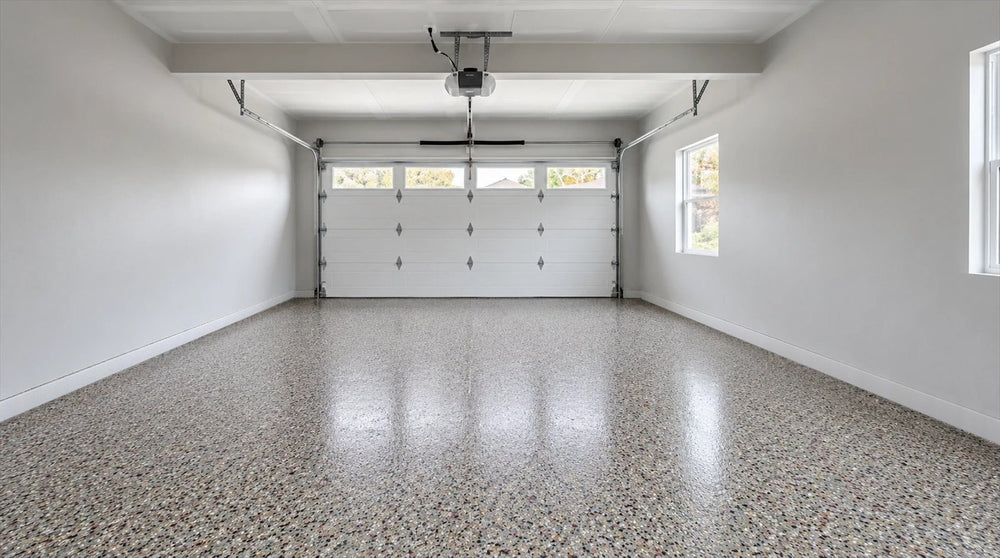
Multiblend
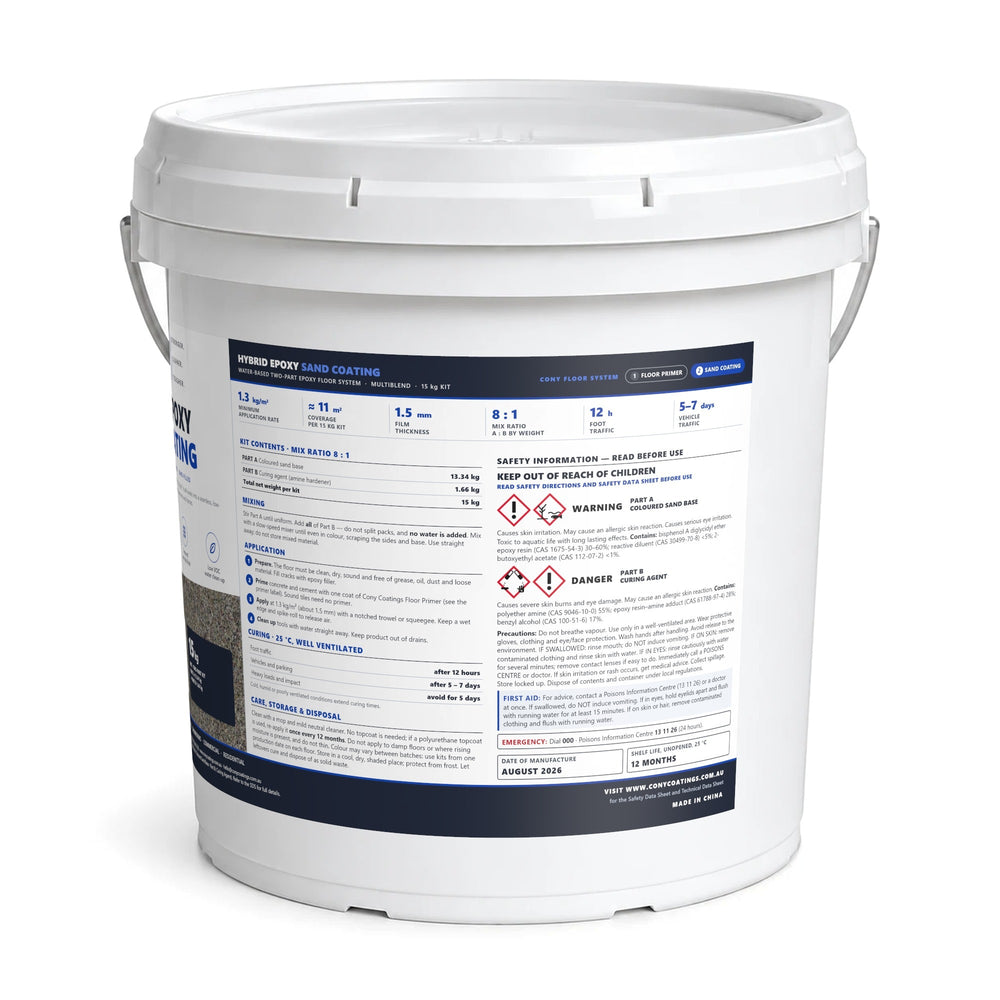
Back of the bucket: application guide and safety
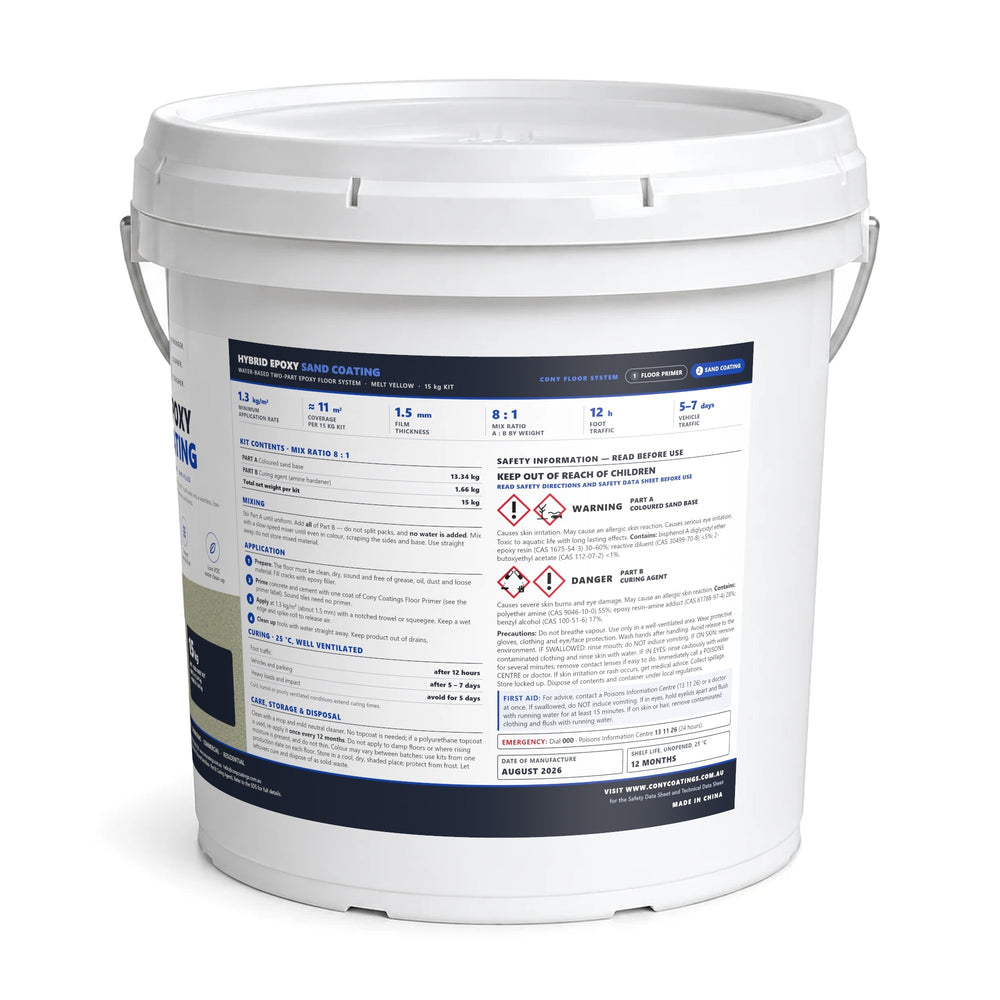
Back of the bucket: application guide and safety
We don't have a finished floor in this colour to show yet — ask us and we'll send what we have.
Colour may vary slightly between batches, and screens show colours differently.
Need extra? Add a bucket or primer
Rather not do it yourself? We also offer installation. See installation